In my previous tutorial, i have discussed about windows
store apps project template and in this tutorial, I am going to differentiate
between blank page and basic page template that is provided while building
window store apps project.
Blank Page Template
When you created a blank app project template, the main page
that is shown in the solution explorer is created as default blank page by
visual studio. As shown in the picture
Open the class view of main page and you will see that this class is inherited
from class Page.
Disadvantage of main page is that it would not support the
apps modes like Landscape, Filled, Snapped and Portrait. You would not able to
modify your controls and data which displayed on the blank page when app changes
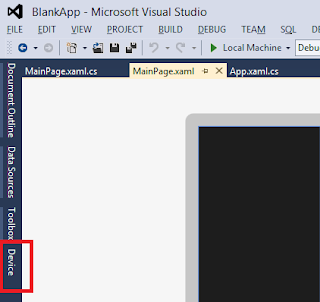
its mode. You will check this by opening device tab as shown in below figures.
The Visual state of drop box show only <Base> and does not provide information about any of given mode. So you
are unable to modify app when it changes mode.
Basic Page Template
Basic page overcome the disadvantages of blank page and also
support apps mode like Landscape, Filled, Snapped and Portrait.
Add a basic page template in your project.
- Right click on the project you have created.
2. Open add item and then add a basic page as shown below.
3. Click ok and visual studio create a basic page.
As shown in above picture, basic page contain a back button
and your application name. It will automatically created by visual studio. Now open the class view of basic page and you
will see that it was inherited from class layout aware page.
Advantage of basic page is that it support apps mode like
filled, snapped, landscape and also go back functionality which mean you will
navigate back to the previous page. All these functionalities defined by
layout aware page from which basic page inherits. Now see the class view of
layout aware page by expanding common folder from solution explorer.
You will see that layout aware page define how the pages
will handled when they are switched to other modes.
For clear picture, again open device tab and you will see visual
state drop box contain all modes which were supported by basic page. Now clicked
on view buttons and you will see how Back Button and Application Label changes
according to page modes. See pictures below:
That's all. In my next post, i'm going to show how to
implement error logging in metro using Metro Log.


